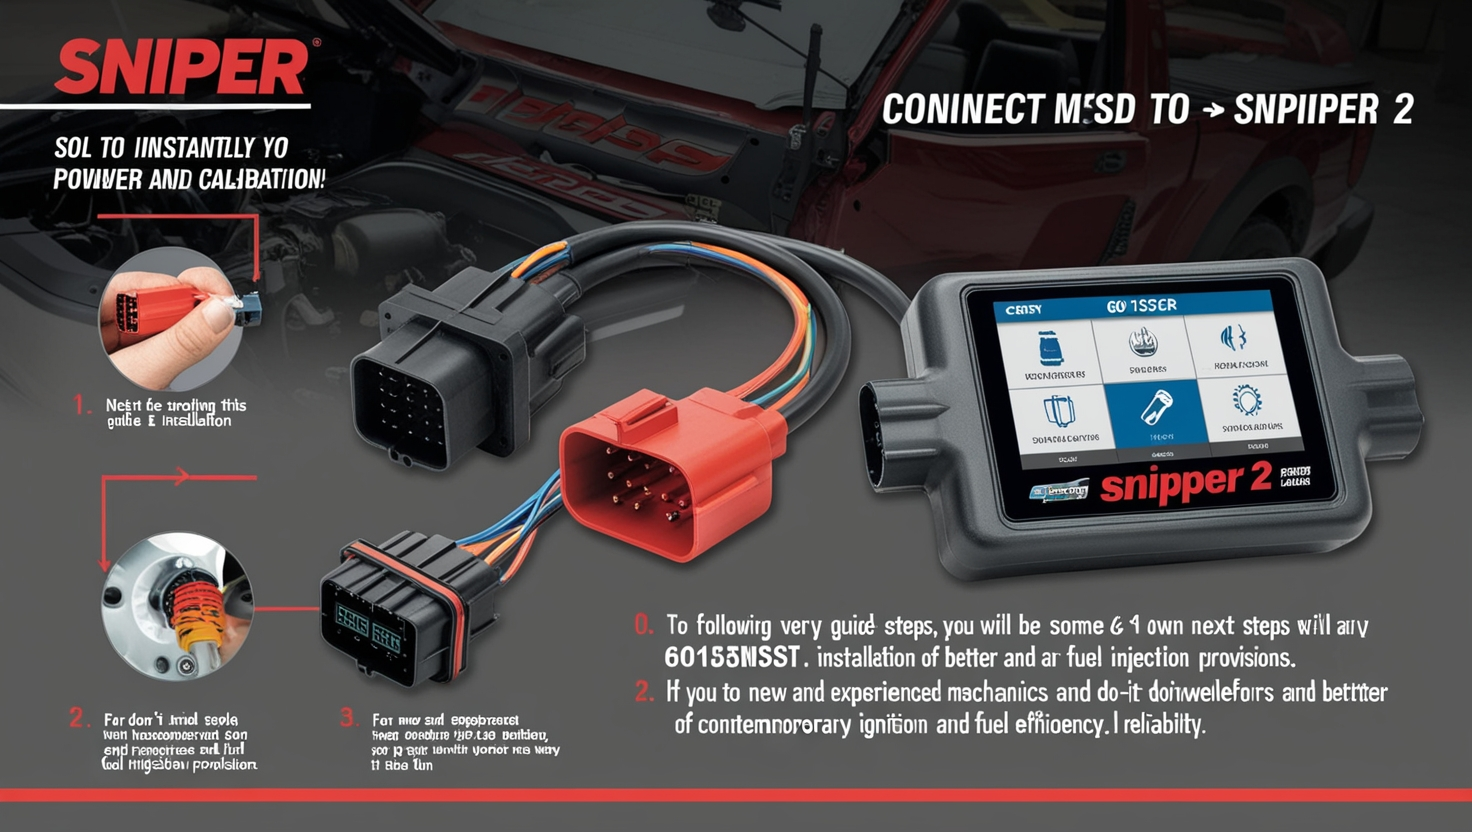
It may seem challenging to link the 60153MSD ignition control module with the Sniper 2 EFI system, but knowing the steps and the right tools makes it easy. When a person wants to fine-tune their car’s performance or diagnose a problem in a current setup, it is important to know how to connect 60153MSD to Sniper 2. I’ll take you through the installation process in the following sections, ensuring you have no hitches.
What Are the 60153MSD and Sniper 2 Systems?
Before diving into the connection process, it’s important to understand what these components are and how they work together:
- 60153MSD Ignition Control Module: This is an advanced system of spark energy delivery for better engine performance and a fantastic ignition system. Car lovers prefer the product because of its toughness and other unique functions.
- Sniper 2 EFI System: The Sniper 2 is an improved fuel injection system, an upgraded version of the old carburetor system. It enhances fuel economy, performance response, and engine control.
When these two configurations are combined and used in the 60153 MS and Sniper 2, the result is perfect for an optimal fuel period. If you aim to know how to connect 60153MSD to Sniper 2, here is what you can experience.
Tools and Materials Required
Before starting the connection process, gather the following tools and materials:
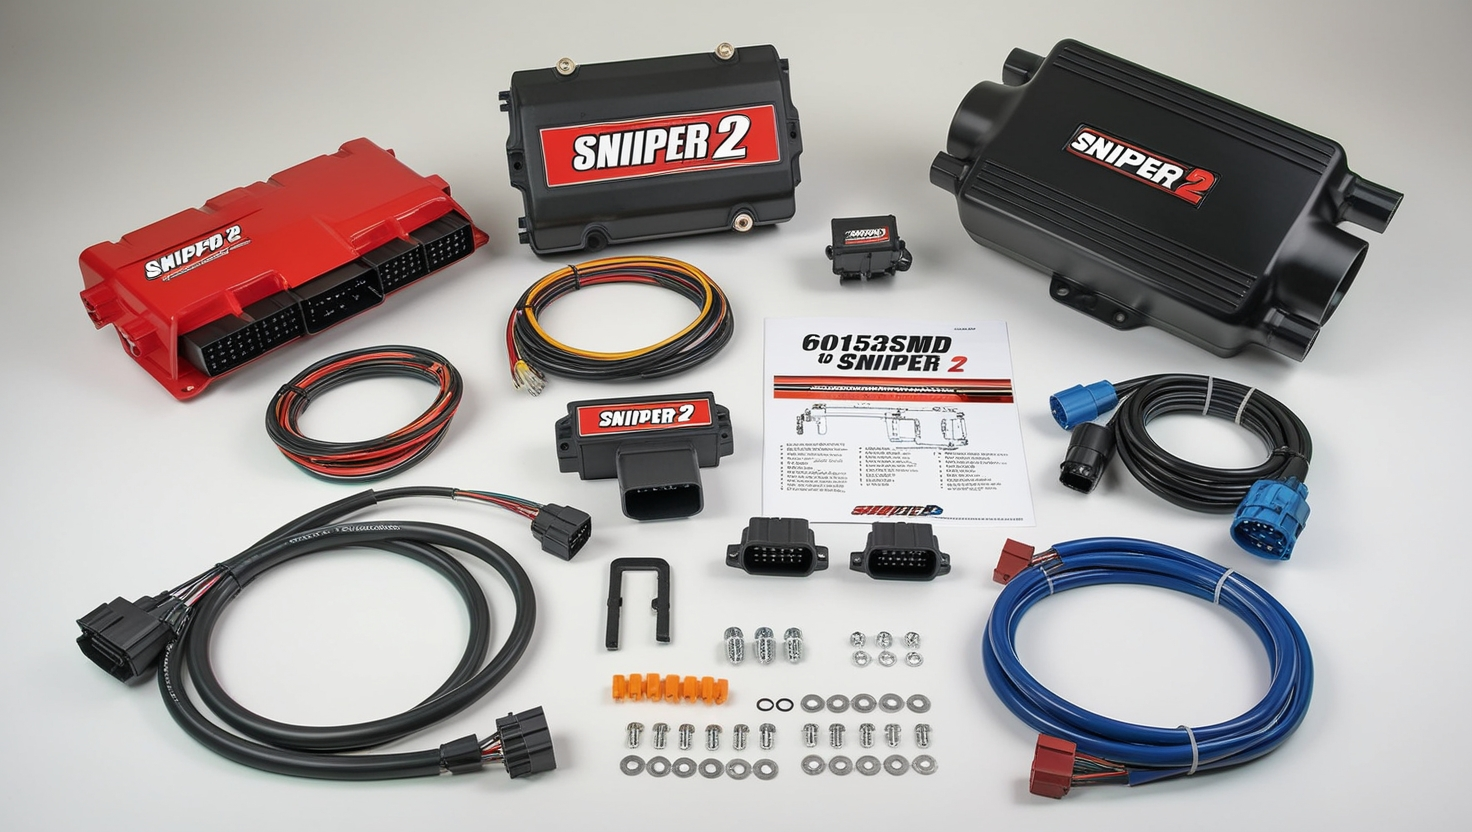
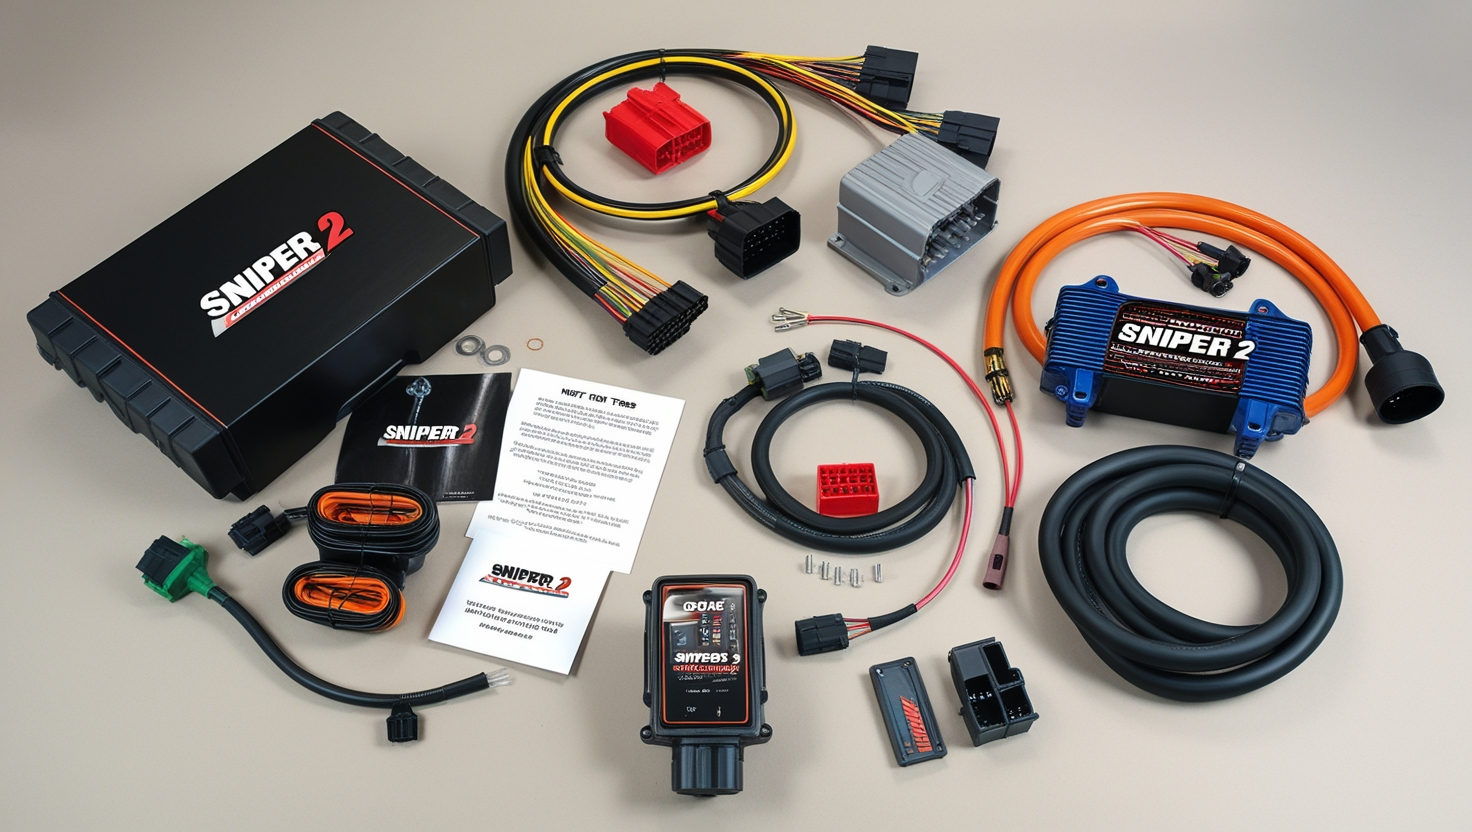
- 60153MSD ignition control module
- Sniper 2 EFI system
- Wiring harness for both system
- Screwdrivers
- Wire strippers and crimpers
- Heat-shrink tubing or electrical tape
- Multimeter (for voltage testing)
- User manuals for both systems
Staining My Woods With These Colors Will Ease the Installation Process of These Items. It is crucial to appropriately connect 60153MSD to Sniper 2 for its operations to run effectively.
Step-by-Step Guide to Connect 60153MSD to Sniper 2
1. Read the Manuals Thoroughly
The 60153MSD and Sniper 2 options we offer in this paper include detailed user manuals, which are standard. To the best of your ability, begin by reading through these manuals to get a feel for their wiring diagrams and recommended settings, among other warnings. Reading the manufacturer’s manual will also be beneficial in avoiding making mistakes while exercising to connect 60153MSD to Sniper 2.
2. Prepare Your Vehicle
Before beginning the installation:
- Switch off the vehicle to eliminate the chances of electrocution.
- Ensure the car’s engine is cold before starting to work on it.
- Find proper placement for the 60153MSD module and the Sniper 2 ECU. They should not be exposed to intense heat and should be isolated from places where they will be easily affected by vibrations.
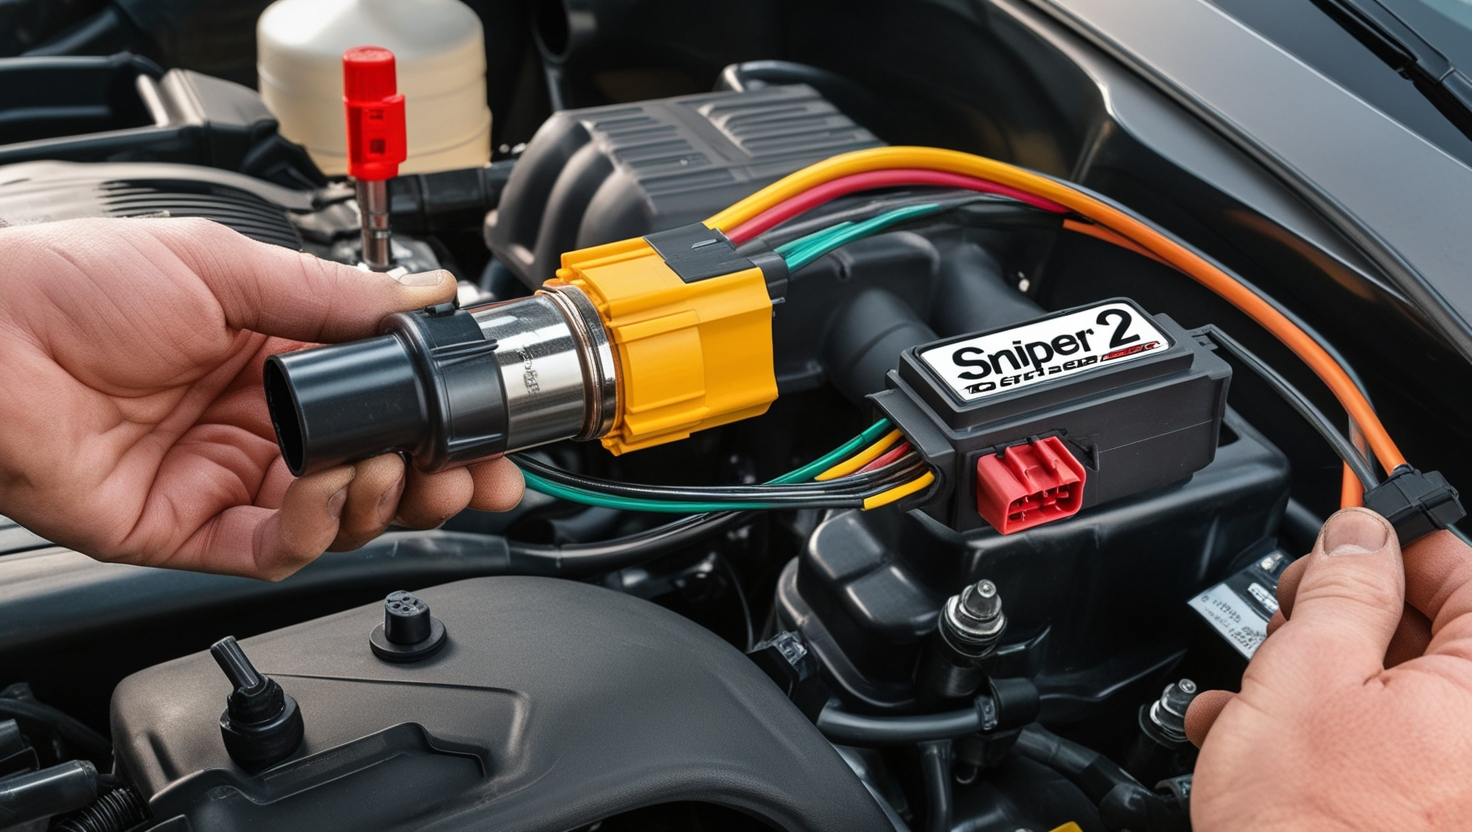
3. Install the 60153MSD Module
- Screw the 60153MSD ignition module firmly to the brackets supplied for the purpose.
- Screw the primary wiring harness into its corresponding position at the module. They are mainly the power supply wire, the ground wire, and the ignition trigger wire.
- Position the wiring harness to prevent contact with sharp contacts or other moving parts. This preparation is necessary for 60153MSD to integrate smoothly with Sniper 2 when required.
4. Install the Sniper 2 EFI System
After that, the Sniper 2 throttle body was fitted onto the engine’s intake manifold. Make sure it is well fixed with the correct bolts for the pump.
Secure the Sniper 2 wiring harness to its ports: injectors and sensors plus the given power source. This last process step means you are almost ready to make the connection.
5. Wiring the 60153MSD to Sniper 2
Here’s how to connect 60153MSD to Sniper 2:
- Tach Signal Connection: Find the tach output wire connection point in the 60153MSD. This wire transmits RPM signals to the Sniper 2 ECU. It should be noted that RPM signals can also be transmitted wirelessly. Screw it down to the tach input wire on the Sniper 2 wiring harness.
- Ignition Trigger Signal: The Sniper 2 system lacks an ignition trigger signal, which it uses to set the spark timing. In this step, the 60153MSD’s ignition output wire must be connected to the corresponding input in Sniper 2.
- Power and Ground Connections: Both systems need safe connections between the power and ground wires. When checking voltage levels, use a multimeter to ensure no negative feedback and that the connection is firm across the case.
- Optional Connections: By configuration, the connection can also be needed for timing control or data loggers, depending on the setup. Check the user manuals for these and other details.
6. Test the Connections
After connecting all the cables, make sure that they are correct. Voltage and continuity can be measured by holding a multimeter. Ensure all wires are correctly connected and covered by heat-shrink tubing or electrical tape to avoid shorting out. It is critical to verify correctly after connecting 60153MSD to Sniper 2.
7. Calibrate the Systems
Switch the vehicle on and calibrate the EFI system to the instructions of the Sniper 2. It may include the setting of engine parameters, the sensors, and fuel parameters.
Utilize the 60153MSD’s setting, which allows you to change the ignition timing and spark. Adjusting these parameters will help you achieve the best result regarding an engine’s functioning.
8. Perform a Test Drive
After you have finished the installation, you should take your vehicle out for a road test. Supercharge the standard analytical features of an engine by tracking your vehicle’s performance levels, throttle response motions, and fuel efficiency. However, if there are problems, one should look at the troubleshooting section of the user manuals or call a professional mechanic. The final step is to confirm this effort’s success in connecting 60153MSD to Sniper 2.
Troubleshooting Common Issues
If you encounter problems while connecting 60153MSD to Sniper 2, here are some common issues and solutions:
No RPM Signal:
- The tach signal wire should also be double-checked.
- Make sure line 60153MSD is active and working.
Erratic Ignition Timing:
- Check the ignition trigger wire connection.
- Look if the Sniper 2 is improperly adjusted and check the car’s or the timer’s settings.
Engine Fails to Start:
- Make sure that the power and ground wires for both systems are connected.
- Plug-in appliances, devices, and electronics. Check around for any loose or damaged wires.
Poor Performance:
Fine-tune the Sniper 2’s fuel settings and the 60153MSD’s ignition parameters.
They said that they should check the sensors and replace parts if they are damaged.
Benefits of Connecting 60153MSD to Sniper 2
Pairing the 60153MSD ignition module with the Sniper 2 EFI system offers several advantages:
- Enhanced Engine Performance: Improved spark and fuel delivery improve power and efficiency.
- Reliable Operation: These two systems are created with the idea of the system not failing in its performance over a particular period.
- Customizable Settings: The tuning options allow you to set your car to different settings depending on the driving conditions.
- Simplified Diagnostics: Other Accessories include Data logging and an onboard diagnostics facility, making troubleshooting much more manageable.
Tips for a Successful Installation
- Audio and video transmitting systems are advised always to use the best wiring connectors to ensure the best performance.
- Locate wires away from high temperatures and other components that vibrate, wear out, or corrode rapidly.
- When installing, ensure you are patient and take time to confirm every connection.
- Seek advice from a professional mechanic if you have doubts about any procedure.
Conclusion
This is very useful because it allows you to connect 60153MSD to Sniper 2, which will help your vehicle perform better and more reliably. Following the guide’s steps, you can avoid some common mistakes in the installation and enjoy all the benefits of contemporary ignition and fuel injection provisions. For new and experienced mechanics and the do-it-yourselfer, this broken-down process sets the task on its way and makes it fun.
If you don’t mind going further, you instantly sold 60153MST to Sniper 2. Still, it must be taken with a grain of salt that, with proper installation and calibration, will provide consumers with power, efficiency, and reliability.